When we bring an end-grain cutting board to our workbench, we are looking at thousands of vertical wood fibers standing shoulder to shoulder. In an end-grain block, the timber is turned upright so that your knife edge slips between the natural pores rather than severing horizontal grain lines. This orientation preserves both the keen edge of your cutlery and the face of the board. Over months of heavy prep, however, those same upright capillaries invite moisture, aromatic oils, animal fats, and micro-debris deep beneath the working face.
A simple surface wipe is rarely enough once a board begins to look gray, parched, or scarred by heavy cleaver marks. Restoring an end-grain block is an exercise in quiet patience, woodcraft, and material science. By cleaning out foreign matter from deep inside the vascular bundles and replenishing the dry cells with non-drying oils and natural waxes, we secure a stable, hygienic chopping surface that can outlive the cook who uses it.
Understanding How Timber Absorbs Moisture
To care for an end-grain board, we must view the wood as a dense bundle of microscopic straws. In living trees, these xylem vessels carry water and dissolved minerals from root to crown. When hardwoods like sugar maple, black walnut, or white oak are cut crosswise to form an end-grain block, those hollow channels remain completely exposed at the surface. Capillary action pulls liquids straight down into the core far more rapidly than through the long side fibers of an edge-grain board.
Wood is hygroscopic. It constantly absorbs and releases water vapor to maintain balance with the ambient humidity of the kitchen. Ideally, a cured cutting board retains an internal moisture content between 7 and 9 percent. If you saturate the block with water, the cell walls swell. If one side stays damp while the other sits on a dry counter, the uneven expansion generates massive mechanical stress along the glued joints, which can cause the waterproof glue lines to crack or the wood to warp.
The choice of wood determines how quickly this capillary uptake happens. Hard maple possesses small, diffuse pores that limit the intrusion of liquid, while red oak features large, open pores that can draw water through the entire thickness of a two-inch block. Understanding this internal plumbing guides every step of how we clean, scrape, and saturate the timber.
| Wood Species | Pore Structure | Water Absorption Rate | Recommended Care Cycle |
|---|---|---|---|
| Sugar Maple | Diffuse-porous (very small) | Low to moderate | Condition every 4 to 6 weeks |
| Black Walnut | Semi-ring-porous (medium) | Moderate | Condition every 3 to 5 weeks |
| Cherry | Diffuse-porous (fine) | Moderate | Condition every 4 to 5 weeks |
| White Oak | Ring-porous (tyloses-filled) | Low to moderate | Condition every 3 to 4 weeks |
Scraping the Surface with a Cabinet Scraper
When an end-grain block develops rough patches, deep knife tracks, or furry fiber spots from water contact, our initial impulse might be to reach for coarse sandpaper. We advise against this. Sandpaper tears at the exposed tubular ends of the wood cells and packs powdered wood dust combined with old oil into the open pores. Instead, we use a simple rectangular piece of spring steel: the cabinet scraper, or card scraper.
A well-prepared card scraper features a microscopic hook or burr rolled along its square edge using a hardened steel burnisher. When held in both hands, bowed slightly with your thumbs, and tilted forward at roughly 45 to 60 degrees, the tool does not gouge. It slices clean, paper-thin curls of damaged wood off the top, leaving the pore structures open and razor-sharp without dulling the surface with synthetic abrasives.
Work across the board using smooth, steady strokes. Push the scraper with the natural layout of the blocks rather than dragging it haphazardly. As you work, you will feel the blade bite into high spots and feather out cut marks left by French chef knives or serrated blades. Once the gray oxidation and frayed fibers are planed away, the original, rich coloration of the maple or walnut immediately reappears, tactile and bare.
- File the steel edge flat with a fine mill bastard file to establish a true 90-degree edge.
- Hone the face and edge on a fine sharpening stone (1000-grit or higher) until the corner is sharp.
- Apply light drop of oil to the steel edge to reduce friction during burnishing.
- Draw a polished burnisher across the edge at 90 degrees, then tip it 5 degrees off-axis to turn a precise hook.
- Flex the blade gently with your thumbs and push across the wood, monitoring the shavings for uniform thickness.
Drawing Out Stains with Salt and Baking Soda
Even with periodic scraping, organic matter like beet juice, allium oils, and meat myoglobin will migrate beneath the surface. To pull these contaminants back out without soaking the wood in chemical solvents, we rely on osmotic pressure and gentle alkalinity using a paste of coarse pickling salt and sodium bicarbonate.
Pickling or coarse kosher salt acts as an osmotic pump, pulling moisture from deep within the wood capillaries toward the surface where the salt crystals reside. Sodium bicarbonate provides mild abrasive action and neutralizes acidic grease compounds that harbor sulfurous odors from garlic and shallots. We mix three parts baking soda with one part coarse salt, then add just enough tepid water to create a thick, gritty paste similar in texture to wet mortar.
Spread this paste evenly across the timber with your fingers or a stiff natural-bristle brush, pushing it directly down into the exposed ends of the grain. Leave the paste to rest for 15 to 20 minutes. As it sits, the drying salt draws the stale fluids out of the wood, turning the white paste a faint yellow or tan. Once the paste stiffens, scrape it off cleanly using a plastic bench scraper, then wipe the board down with a clean linen cloth dampened with warm water. Never flood the surface to wash away the salt; damp wipes remove the residue without saturating the timber.
Blending Pure Mineral Oil with Yellow Beeswax
Once the timber is scraped clean and the stains are evacuated, the wood cells stand empty, thirsty, and vulnerable to ambient moisture. Raw end-grain wood will crack if left dry. We nourish the internal cellular matrix with food-grade mineral oil, then seal the surface with yellow beeswax. Mineral oil is an inert, non-drying hydrocarbon that does not turn rancid over time, unlike plant-derived oils such as olive, canola, or sunflower seed oils.
While liquid mineral oil penetrates deeply down the wood channels, it can wash out over repeated rinses. By melting yellow beeswax into the oil, we create a soft, buttery paste known in our shop as board butter. Beeswax melts at roughly 62 to 64 degrees Celsius (144 to 147 degrees Fahrenheit). Once cooled inside the pores, the wax hardens slightly, creating a semi-solid hydrophobic barrier that holds the lubricating oil deep within the wood fibers.
We blend our paste using a 4 to 1 ratio by weight: 400 grams of food-grade light mineral oil to 100 grams of unbleached yellow beeswax pellets. Use a simple water bath or double boiler setup to warm the mixture gently over indirect heat:
- Set a heat-safe glass or stainless steel vessel inside a pan filled with two inches of simmering water.
- Add the beeswax pellets to the dry vessel and allow them to melt completely without stirring vigorously.
- Pour in the room-temperature mineral oil slowly; the wax will initially cloud up and seize.
- Maintain low heat until the entire mixture turns clear, golden, and uniform in viscosity.
- Carefully pour the liquid into wide-mouth glass jars and let it cool undisturbed for three hours until it forms a creamy, workable paste.
Buffing the Surface Along the Grain
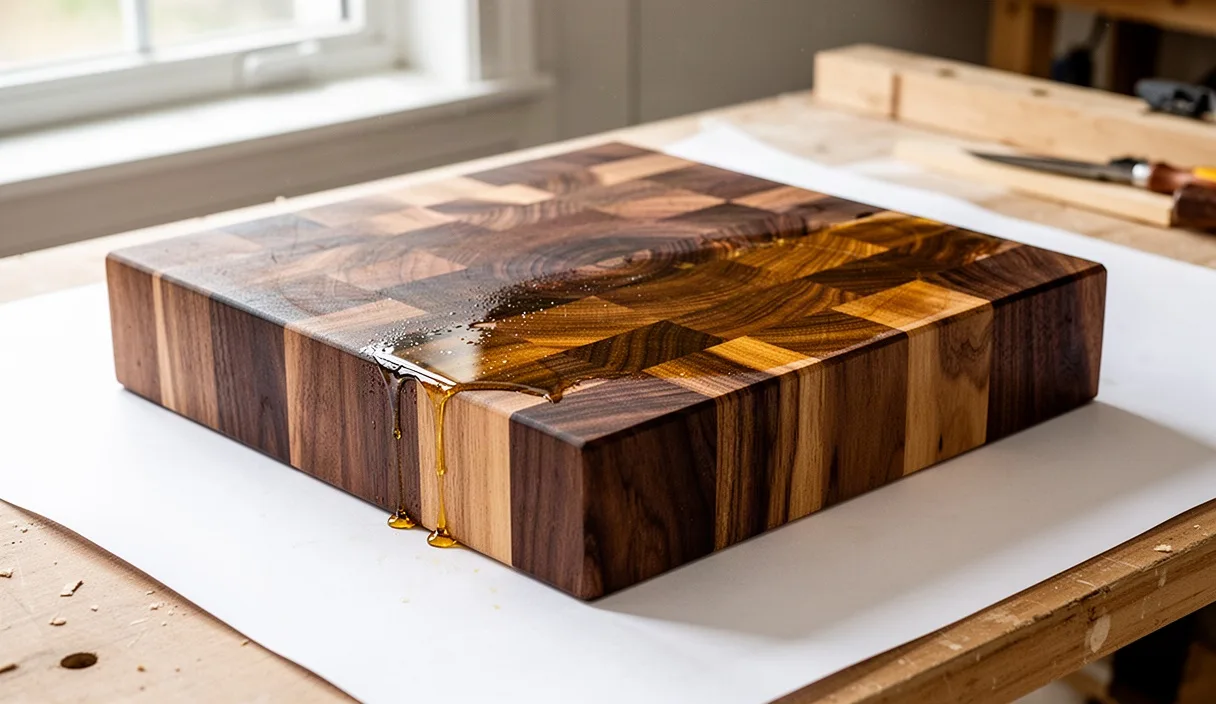
Application of the oil-wax paste requires friction and warmth. Take a generous scoop of the blend on a pad of cotton flannel or unbleached canvas. Rub the paste firmly into the end-grain using tight circular motions. The mechanical friction of your hand generates enough heat to soften the beeswax, allowing the mineral oil vehicle to carry it downward into the open pores.
End-grain boards consume an astonishing amount of finish during a deep refresh. A dry, twelve-by-eighteen-inch board may absorb up to 60 milliliters of paste on its first coat. Continue applying paste until the surface stops drinking it in and a glossy, wet film remains sitting on top. We always treat all faces: top, bottom, and all four perimeter edges. Conditioning only the top face invites unequal moisture absorption from the air, which inevitably causes cupping.
Let the board sit overnight, or for a minimum of four hours, to permit the oil to distribute through the capillary walls. After this resting phase, take a dry, clean piece of terry cloth or a dense horsehair brush and buff the board vigorously. You are not trying to strip the wax; you are leveling the surface, burnishing the excess into the pore mouths, and wiping away the sticky remainder. When finished, the surface should not feel greasy to the bare palm; it should feel satiny, cool, and smooth like stone.
Daily Rinsing Protocols for Long Board Life
A deep restoration is work we want to perform only three or four times per year. The longevity of that restorative effort hinges entirely on what happens at the kitchen sink after each meal prep. End-grain boards demand predictable, gentle habits that protect the glue joints and maintain the wax barrier intact.
Immediately after cutting, wipe away food scraps using a bench knife. Wash the board with a soft sponge, warm water, and a few drops of mild, unscented dish soap. Scrub both sides, even if you only sliced an apple on one face; introducing moisture to both broad faces keeps internal stresses balanced. Rinse quickly under running water, taking care never to let the board rest in a pooled sink.
Once rinsed, towel-dry the wood immediately with an absorbent tea towel. Prop the board upright on its long edge, preferably on a drying rack or supported by rubber feet, so that air circulates freely around all sides. If an end-grain board is dried lying flat on a wet granite or laminate countertop, the trapped moisture underneath will swell the bottom fibers while the top dries out and contracts, resulting in split corners and bowed boards within weeks.
Common Mistakes to Avoid
The craftsmanship embedded in an end-grain board can be undone rapidly by well-meaning but destructive kitchen habits. Here are the errors we encounter most frequently in the workshop:
- The automatic dishwasher: The combination of caustic detergents, prolonged 65-degree water jets, and intense drying heat breaks down even waterproof aliphatic resin glues and splits end-grain joints instantly.
- Conditioning with culinary oils: Olive oil, walnut oil, coconut oil, and lard contain triglycerides that oxidize over time. Within a few months, they go rancid within the core of the timber, leaving an irreversible sour odor.
- Soaking in water: Submerging an end-grain block for even ten minutes allows water to travel multiple inches up the vascular channels, dissolving glue and inducing severe wood warping.
- Harsh chemical bleaching: Pouring straight household chlorine bleach onto timber breaks down the cellulose fibers, causing the wood to become stringy, soft, and permanently discolored.
Next Steps in Board Maintenance
Keep a small tin of your homemade beeswax and mineral oil blend within arm's reach of your prep station. You do not need to wait for a full deep cleaning to tend to the wood. A light top-dress wiped on every few weeks keeps water beading cleanly on the surface and stops wet ingredients from staining the fibers.
Watch how moisture behaves when it touches the timber. If water droplets bead up tightly like dew on a waxed car hood, the board's internal moisture barrier is robust. If water spreads flat and darkens the wood within thirty seconds, the timber is signaling that its pores are open. Take an hour on a quiet evening, clean out the fibers, draw your scraper, and feed the wood; it is an intimate, rhythmic ritual that honors the tree and serves the craft of the table.