Carbon steel behaves like a living skin in the kitchen. When we forge or press a sheet of iron and carbon into a skillet, we create a tool that reacts directly to the environment around it. Moisture from an unseasoned rinse, humidity lingering in a dark cupboard, or an accidental splash of acidic liquid can break the fragile barrier between bare metal and oxygen. Within a matter of hours, bright orange iron oxide blooms across the dark blue patina, making the pan look ruined to an untrained eye.
Rust looks alarming, but it is rarely fatal to thick sheet steel. Unlike cast iron, which is brittle and porous, carbon steel has a tight grain and high tensile strength, meaning rust usually remains on the immediate face rather than eating into structural voids. We treat rust restoration not as a chore of destruction, but as a deliberate reset. By stripping the failed oxide and rebuilding the polymer foundation layer by layer, we bring the pan back to raw steel and establish a durable, nonstick patina that will endure decades of hard use.
Assessing the Depth of the Oxidation
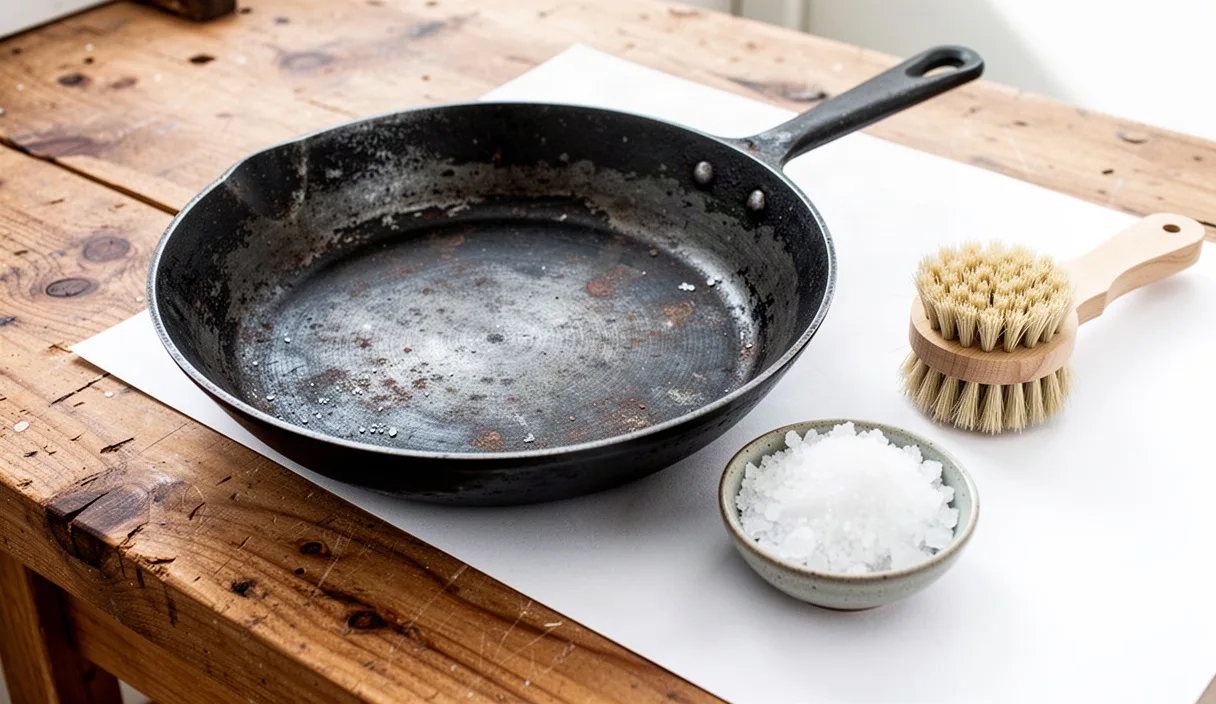
Before we introduce any tools or acids to the pan, we need to understand what level of corrosion we are handling. We wash the pan in hot water with a drop of mild soap, wipe it dry with a clean rag, and set it under a clear work light. We run our bare fingertips across the surface to feel the texture of the steel. Healthy metal feels smooth or slightly satin, while active rust feels powdery, gritty, or chalky.
Most household rust falls into two categories: light flash rust and deep, pitted scale. Flash rust is vibrant orange or light reddish-brown. It wipes away partially on a dry white cloth and leaves the underlying steel smooth. Pitted rust, by contrast, appears dark brown, dark red, or black. It forms raised nodules that catch on a fingernail and leaves microscopic craters in the sheet metal once scraped away. If the rust has formed deep pits that penetrate halfway through the wall thickness, the structural integrity may be compromised, and a professional metalworker should evaluate the piece before it is put back on high flame.
| Oxide Classification | Visual and Tactile Traits | Estimated Penetration | Remediation Method |
|---|---|---|---|
| Flash Rust | Bright orange powder, smooth steel underneath, transfers to cloth | Under 0.02 mm | Salt abrasive scrub with oil |
| Settled Surface Rust | Dull reddish-brown crust, rough grain, does not wipe clean dry | 0.05 mm to 0.15 mm | Dilute vinegar soak followed by salt scrub |
| Pitted Corrosion | Dark brown or black scales, sharp craters, flakes under pressure | Exceeding 0.30 mm | Extended acid bath, wire wool, mechanical resurfacing |
Once we identify the grade of oxidation, we can choose the gentlest method that will yield clean steel. Our goal is always to preserve the original metal thickness while removing every speck of oxidized material, because any rust left beneath a fresh layer of seasoning will eventually flake off and ruin the pan's nonstick properties.
Stripping Rust with a Mild Vinegar Soak
When rust has formed a continuous crust across the surface, manual scrubbing alone can be inefficient and can leave traces of iron oxide in the metal pores. To dissolve this bond, we turn to mild acetic acid found in standard 5-percent distilled white vinegar. The acid reacts chemically with the iron oxide, converting it into water-soluble iron acetate, which loosens from the healthy base metal.
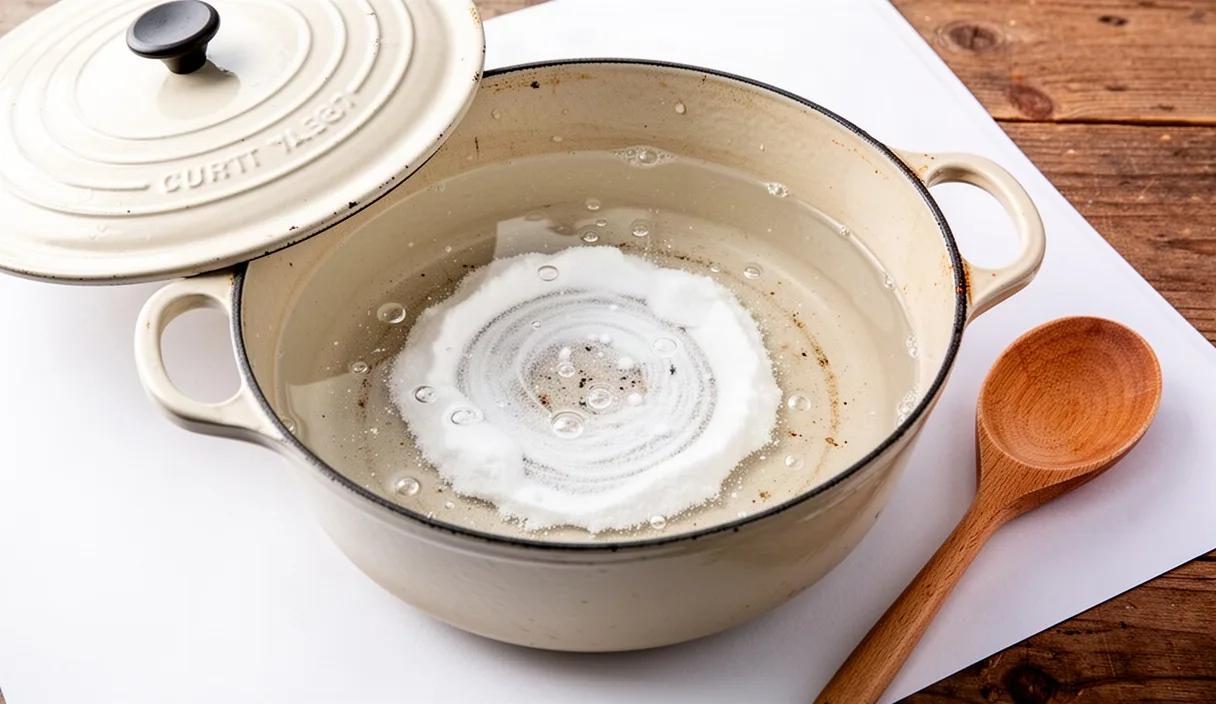
We prepare a soaking basin large enough to submerge the skillet flat. We mix equal parts tap water and 5-percent white distilled vinegar, creating an acid concentration of roughly 2.5 percent. We never submerge the pan in undiluted vinegar; raw acid can pit unoxidized carbon steel if left unchecked. We lower the pan into the bath, making sure the liquid covers every patch of rust. We keep the handle out of the liquid if it is wrapped in brass, wood, or coated with silicone.
- Mix a 1:1 solution of cool tap water and 5-percent distilled white vinegar in a non-reactive plastic tub.
- Submerge the skillet, ensuring no air bubbles are trapped beneath the cooking surface.
- Set an initial timer for 20 minutes, pulling the pan out to check progress with a rag.
- Never leave the metal in the acid solution for longer than 45 minutes continuously.
While the pan rests in the bath, small bubbles will cling to the rusted areas as the chemical reaction occurs. At the 20-minute mark, we lift the pan and wipe a finger across the worst patch. If the rust sloughs away as a grey-black slurry, the chemical reaction has done its work. Prolonged soaking beyond 45 minutes begins to etch healthy steel, creating an aggressive matte texture that requires extensive polishing later. Once the rust has softened, we immediately move the skillet to the sink to neutralize the acid.
Scrubbing Down to Fresh Metal with Salt
Chemical loosening must be followed by mechanical friction to clear the loosened oxides from the microscopic grain of the steel. We avoid aggressive rotary wire brushes attached to power drills unless the pan is heavily pitted, as power tools can gouge uneven hollows into rolled steel. Instead, we use coarse kosher salt or rock salt as our primary abrasive.
Salt provides sharp, crystalline edges that scour away rust and old, degraded seasoning without shaving down the core metal. As we scrub, the salt granules break down into smaller particles, shifting from a coarse cutting agent to a fine polish. To apply pressure, we use half of a raw russet potato or a tightly folded cotton shop cloth. The natural moisture and oxalic acid in a potato help dissolve residual scale while keeping the salt contained beneath your palm.
- Rinse the vinegar bath from the steel using cold running water.
- Sprinkle a generous half-cup of coarse salt evenly across the wet cooking floor and walls of the skillet.
- Press the flat cut side of the potato firmly onto the salt, moving in tight, overlapping circles.
- Work along the inner transition where the sidewalls meet the base, where grease and rust tend to bake into stubborn corners.
- Rinse the grey slurry with cold water and check for any remaining orange highlights.
If stubborn spots remain, we switch to a pad of grade 00 fine steel wool, working gently with short, targeted strokes. When the metal is clean, it will appear as a uniform, pale battleship grey. The skillet will smell distinctly metallic, like clean wet iron. This raw steel is now completely exposed and extremely reactive to ambient oxygen, meaning we must move directly to drying without pause.
Drying and Preheating on the Stovetop
Bare, damp carbon steel will begin to develop fresh flash rust within 90 seconds of exposure to air. Hand towels remove surface drops, but moisture remains trapped inside the micro-texture of the metal. To purge this moisture, we rely on controlled heat from a gas burner or electric element.
Immediately after the final rinse, we pat the skillet dry with a dark cotton towel and set it directly onto a burner set to medium-low heat. We avoid high heat during this phase because rapid, uneven temperature spikes can warp a thin carbon steel pan, causing the flat bottom to bow inward or outward. We want the heat to travel outward from the center to the rim slowly and evenly over three to five minutes.
As the pan passes 212 degrees Fahrenheit, the trapped moisture flashes off into vapor. We watch the surface closely as the metal dries. The pale grey color will shift slightly, turning a warmer, bone-dry matte shade. Once all steam has stopped rising from the pan, we allow it to warm for an additional two minutes on low heat. Warming the metal expands the crystalline matrix of the steel, opening microscopic surface fissures that will readily accept our first coat of conditioning oil.
Applying Micro Coats of High Smoke Point Oil
Seasoning is not a layer of grease; it is a thin, hard sheet of polymerized fat that has bonded to the iron substrate. Many cooks fail at this stage by using too much fat, which creates a sticky, gummy coating that chips away during cooking. We work with micro coats, applying oil and then wiping it off until the pan looks virtually dry before heating it to polymerization temperatures.
We choose oils high in polyunsaturated fats with smoke points above 450 degrees Fahrenheit. Grapeseed oil, refined sunflower oil, and rice bran oil yield hard, glass-like polymers. We avoid raw flaxseed oil, which creates a brittle film prone to flaking off carbon steel, as well as butter, animal fats, or unrefined olive oils, which contain water and milk solids that burn into bitter carbon rather than curing smoothly.
| Oil Type | Smoke Point | Polymer Hardness | Suitability for Initial Base Coat |
|---|---|---|---|
| Grapeseed Oil | 425 to 450 F | Very High | Ideal; balances hardness and flexibility |
| Refined Rice Bran Oil | 485 to 495 F | High | Excellent; neutral, high thermal threshold |
| Flaxseed Oil | 225 F (unrefined) | Extremely High (Brittle) | Poor; tends to crack and peel from smooth steel |
| Lard (Pure Rendered) | 370 F | Moderate | Fair; softer finish, better for daily cooking |
We pour roughly a quarter-teaspoon of grapeseed oil into the warm pan. Using a lint-free cotton cloth or folded blue shop paper towel, we rub the oil over the entire skillet, covering the cooking surface, the flared rim, the underside, and the handle. Then, taking a second, completely dry cloth, we buff the pan vigorously. We wipe as if we made a mistake by putting oil on the pan and want to remove every trace of it. What remains is a microscopic film only a few molecules thick, which is the exact thickness required for durable polymerization.
We raise the heat to medium-high, or place the skillet upside down in an oven preheated to 460 degrees Fahrenheit for 60 minutes. On the stovetop, we watch for light wisps of smoke to appear. As the oil smokes, the grey steel will transform into a light golden amber, then to a mottled hazelnut brown. We keep the pan at this temperature for 10 minutes until the surface stops smoking and turns dry and reflective.
Cooling Slowly to Lock the Finish
Thermal management is as important during cooling as it is during heating. If hot carbon steel cools too rapidly, internal tensions in the rolled metal can release suddenly, causing the bottom to warp into a permanent bowl. Furthermore, the newly formed polymer layer needs time to settle and finish cross-linking as its temperature drops below its smoke threshold.
If we are using the stovetop method, we switch off the flame and leave the pan on the cool grate undisturbed. If we are curing in an oven, we turn off the power, crack the oven door by two inches, and allow the pan to cool down over the course of an hour. We never quench a hot pan with tap water and we do not set it onto cold stone or granite countertops.
When the skillet returns to room temperature, we pick it up and examine the base. It should not feel tacky to the touch. A tacky feel indicates that the oil coat was applied too thick or the heat was removed before polymerization finished. If the surface feels smooth and slick, we apply a second micro coat of oil and repeat the heat cycle. Three thin coats will yield a resilient, golden-bronze foundation that resists moisture and provides an ideal base for daily cooking.
Common Mistakes When Removing Rust
Restoring metal rewards patience and consistency. When the restoration goes poorly, it is usually because of small errors in timing or technique. Here are the issues we encounter most frequently:
- Leaving the pan in the vinegar bath for hours. Acid acts indiscriminately; once it consumes the rust, it attacks the raw iron, turning smooth sheet steel into a rough, pitted sponge.
- Pouring heavy puddles of seasoning oil into the pan. Thick coats do not cure evenly, leaving soft, gummy rings that peel away the first time you cook an egg or sear a steak.
- Failing to neutralize the acid immediately. Rinsing with vinegar-water left on the counter allows invisible chemical reactions to continue, generating flash rust before the pan even reaches the heat.
- Using fragrant, low smoke point culinary fats like extra virgin olive oil or unrefined coconut oil for initial seasoning, which burn into soot rather than curing into a tough resin.
Maintaining the Surface: Practical Next Steps
Once your skillet is restored to a golden-brown finish, the priority shifts to building out the patina through heat and animal fats. For your first three cooking sessions, cook foods with high natural fat content, such as sliced pork belly, duck breast, or skin-on chicken thighs. Avoid searing damp steaks with sugar-heavy marinades, and completely avoid acidic ingredients like wine, citrus, tomatoes, or vinegar until the seasoning has turned dark black over several weeks of continuous use.
After each cook, wash the skillet under hot running water with a stiff natural-bristle brush. Mild dish soap will not strip a properly cured polymer, but never let the pan soak in a wet sink. Dry the skillet on the stovetop over low heat for two minutes, rub a microscopic drop of high smoke point oil across the warm surface, and buff it out until dry. Store the pan in a dry cabinet, ideally hung from a hook or separated from other metal pans with a square of untreated butcher paper or a clean cotton cloth.
If a carbon steel pan has sustained severe structural warping that causes it to spin freely on an induction or glass-top range, or if the rivet joints holding the handle are loose and corroded, home scrubbing will not correct the mechanical defect. In those cases, consult an experienced blacksmith or industrial machine shop to flatten the floor on an arbor press or replace the rivets before returning the pan to high-heat cooking.