When a blade dulls, we feel it in the wrist before we see it in the cut. The edge drifts against the skin of a winter squash, bruises the delicate cells of an onion, or crushes the crust of a sourdough loaf instead of sliding through. A dull knife demands brute force, which robs prep work of rhythm and safety. Restoring that edge with synthetic or natural waterstones grounds us in the workshop tradition. It is an exercise in tactile feedback, friction, water, and steel alloy meeting on an abrasive plane.
Waterstones cut faster than hard Arkansas oilstones because the synthetic bonding agent wears down during use, continually releasing fresh, sharp particles of aluminum oxide or silicon carbide. This slurry creates an even scratch pattern while drawing metal away from the bevel. In our kitchen, sharpening is neither a chore nor an esoteric mystery. It is periodic benchwork that keeps our carbon and stainless steel chef knives obedient to the hand.
Selecting Stone Grits for General Kitchen Work
Waterstones are graded by numerical grit, indicating particle size. Lower numbers mean larger, coarser grains that cut steel rapidly to repair chips or reset thick apexes. Higher numbers contain fine particles that refine the scratch pattern and polish the steel until the apex reaches razor sharpness. For a working battery of kitchen knives, three stones or two combination stones cover all cutting tasks without cluttering the workbench.
A coarse stone, between 320 and 500 grit, acts as our shaping tool. We do not use it during routine maintenance; rather, we turn to it when an edge has struck bone, developed a visible notch, or grown so thick behind the primary bevel that it needs reprofiling. The medium stone, generally between 800 and 1200 grit, serves as the foundation. An honest 1000-grit stone cuts quickly enough to establish a crisp apex on neglected knives yet leaves a toothy edge capable of gripping waxy tomato skins.
| Grit Rating | Primary Function | Scratch Pattern | Recommended Frequency |
|---|---|---|---|
| 300 to 500 | Repairing chips, resetting bevels | Deep, matte grooves | Once or twice a year |
| 1000 to 1200 | Establishing primary apex | Uniform satin finish | Every 4 to 8 weeks |
| 3000 to 4000 | Refining, deburring kitchen knives | Semi-reflective luster | Every 2 to 4 weeks |
| 6000 to 8000 | Mirror polishing, push-cutting blades | Mirror reflection | Specialized slicers only |
For refining and polishing, we choose a 3000 to 5000-grit stone. A kitchen knife polished much beyond 6000 grit can become counterproductive on slippery plant skins. While an ultra-fine edge glides through cold beef tenderloin, it lacks the microscopic serrations, or micro-teeth, that help an all-purpose gyuto or santoku bite into bell peppers and herb stems without sliding sideways.
Soaking and Flattening the Waterstone Surface
Synthetic waterstones fall into two structural categories: porous soaking stones and dense splash-and-go stones. Soaking stones, often bonded with clay or ceramic binders, require full submersion in tap water for 10 to 20 minutes before work begins. We watch the basin until bubbles stop rising from the stone interior. Splash-and-go stones, frequently resin-bonded, will soften or degrade if left underwater; they need only a film of surface moisture from a spray bottle or wet hand before the steel touches them.
Because synthetic stones shed their worn particles to expose fresh grit, the center of the block erodes faster than the outer margins. A dished or hollowed stone produces an unpredictable, convex bevel on the knife edge. We flatten our stones before every sharpening session using an electroplated diamond plate or a coarse silicon carbide truing brick with ample water.
- Pencil a light grid pattern across the entire working face of the dried or soaked stone.
- Place the stone on a non-slip silicone mat or inside an adjustable stone holder with rubber feet.
- Rub the diamond plate back and forth using full, level strokes across the stone face.
- Rinse the stone frequently until every trace of the pencil grid disappears, confirming the surface is planar.
- Chamfer the four long edges of the stone lightly with the diamond plate to prevent edge chipping during blade work.
Keep a small bowl of clean water nearby throughout the process. As metal swarf and binder slurry gather on the surface, sprinkle droplets to keep the friction fluid and smooth. If the slurry thickens into mud that sticks to the blade face, wipe the stone clear with a gentle splash of water, leaving just enough grit suspension to lubricate the pass.
Finding and Locking the Cutting Bevel Angle
Most Western kitchen knives feature a factory bevel between 18 and 22 degrees per side, creating a robust wedge suited for cutting through squash or parting chicken joints. Japanese kitchen knives, crafted from harder alloys like white paper steel, blue paper steel, or VG10, are typically ground between 12 and 16 degrees per side. Consistency matters far more than matching a factory angle down to the half-degree.
To register the angle physically, place the knife blade flat against the waterstone with the cutting edge facing away from your body. Slowly raise the spine of the knife while sliding your index finger along the spine and resting your thumb on the blade face. When the cutting bevel makes full contact with the abrasive, you will feel the knife stop rocking on its shoulder. For an angle around 15 degrees, the gap between the spine of a standard chef knife and the stone surface matches the thickness of two pennies stacked together.
Locking this angle requires stabilizing the wrists and elbows rather than the fingers alone. Keep the dominant hand firm on the handle, acting as a fixed angle block. The fingertips of the non-dominant hand rest flat on the blade face, about two millimeters above the cutting edge, applying downward pressure directly into the stone. Shift your torso gently from the hips to move the knife, relying on your core to maintain the angle throughout each stroke.
Drawing the Edge from Heel to Knife Tip
Divide the blade mentally into three overlapping zones: the heel, the belly, and the tip. Work each zone deliberately rather than trying to sharpen the entire length in one broad, uncontrolled sweep. We begin at the heel, placing the edge diagonally across the stone at roughly 45 degrees to the stone length. This diagonal orientation broadens the contact area and eliminates chattering as the steel glides across the water film.
Apply moderate downward pressure, roughly equal to the weight of a heavy book, on the pushing stroke if cutting edge-forward, or on the pulling stroke if trailing the edge. Relieve nearly all pressure on the return pass. Ten to fifteen steady strokes in one section are usually enough to cut through fatigued metal. Then, slide the supporting fingertips forward along the blade face to the belly section and repeat the cadence.
The tip demands a conscious adjustment. Because the blade profile curves upward toward the point, maintaining a flat wrist causes the stone to miss the tip entirely. As you reach the curved belly and tip, lift the handle slightly upward along the arc of the knife profile, keeping the cutting edge perpendicular to the stone face. Take care not to raise the handle too high, or you will blunt the delicate point against the stone corner.
Detecting the Burr by Light Touch
Sharpening is not complete until steel has been abraded away on both faces until they meet in a unified line. When the stone cuts away sufficient metal on the first side, it pushes a paper-thin microscopic ridge of pliable steel over the opposite side. This ridge is called the burr, or wire edge. Without verifying the burr along every millimeter of the blade, you have merely polished the side of the knife without apexing the edge.
Dry your hands and the blade with a clean towel before checking. Rest the pad of your thumb on the unsharpened side of the blade, touching the flat cheek above the bevel. Lightly sweep your thumb downward and out over the cutting edge. Never slide your thumb lengthwise along the sharp line. If the apex is reached, you will feel a distinct, scratchy hook catching the ridges of your skin. It feels like dry parchment or fine sandpaper along the reverse face.
- Sharpen the first side of the blade systematically from heel to tip on your medium stone.
- Feel for the burr along the entire opposing side, noting any smooth patches where the apex has not met.
- Return to the stone and work the smooth sections until the burr is continuous from heel to tip.
- Flip the knife over, lock the identical bevel angle on the opposite side, and repeat the strokes.
- Check for the burr to flip cleanly to the original side, confirming both bevels intersect true.
Once the burr is established on both sides, lighten your touch. Perform alternating edge-leading strokes, two per side, then one per side, using little more than the natural weight of the blade. This back-and-forth movement weakens the root of the wire edge, detaching the coarse metal fringe before moving up to the polishing stone.
Honing on a Leather Strop for Lasting Keenness
After finishing on your highest-grit waterstone, microscopic foil remnants of the burr still cling to the apex. If left intact, this ragged wire folds over during your first knife cut, leaving the blade prematurely dull. A leather strop removes this residual foil and aligns the apex without rounding the crisp shoulders of the bevel we worked to establish.
We use a length of vegetable-tanned cowhide or horsebutt leather mounted flat on a rigid maple block. The smooth grain side works well for clean steel finishing, while the sueded flesh side holds abrasive compounds effectively. We charge our working strop with a light rub of chromium oxide or diamond suspension, which cuts at a microscopic scale to clean up stray scratches.
Stropping requires an edge-trailing stroke: the spine leads, and the cutting edge follows behind. If you push the cutting edge into the leather, the blade will dig in, gouging the strap and ruining the apex. Place the bevel flat against the leather, match the angle you held on the waterstones, and pull the blade smoothly toward you from heel to tip. Five to eight light sweeps per side are sufficient. Over-stropping wraps the soft leather around the blade edge, rounding the point and dulling the cut.
Common Mistakes
The most frequent failure on waterstones stems from changing angles mid-stroke. When the wrist wobbles, the stone grinds away the delicate apex, creating an uneven, rolled edge instead of two flat planes meeting cleanly. Practicing slow, measured passes builds muscle memory far better than rapid, scrubbing strokes.
Another pitfall is running stones dry or ignoring surface dishing. Water clears away steel particles; without it, metal swarf packs into the porous grit, a condition called glazing, which halts cutting action. Similarly, working on a dished stone rounds the profile of the knife, making it impossible to produce a straight, flat contact patch against the wooden cutting board.
Practical Next Steps
Begin by inspecting your kitchen knives under a direct desk lamp. Tilt the cutting edge upward toward the bulb and look straight down the apex line. If you see bright spots or glittering glints of light reflecting back at you, that steel has rolled, flattened, or chipped. A truly sharp apex is thinner than the wavelength of light and will reflect nothing, appearing as an invisible, dark void.
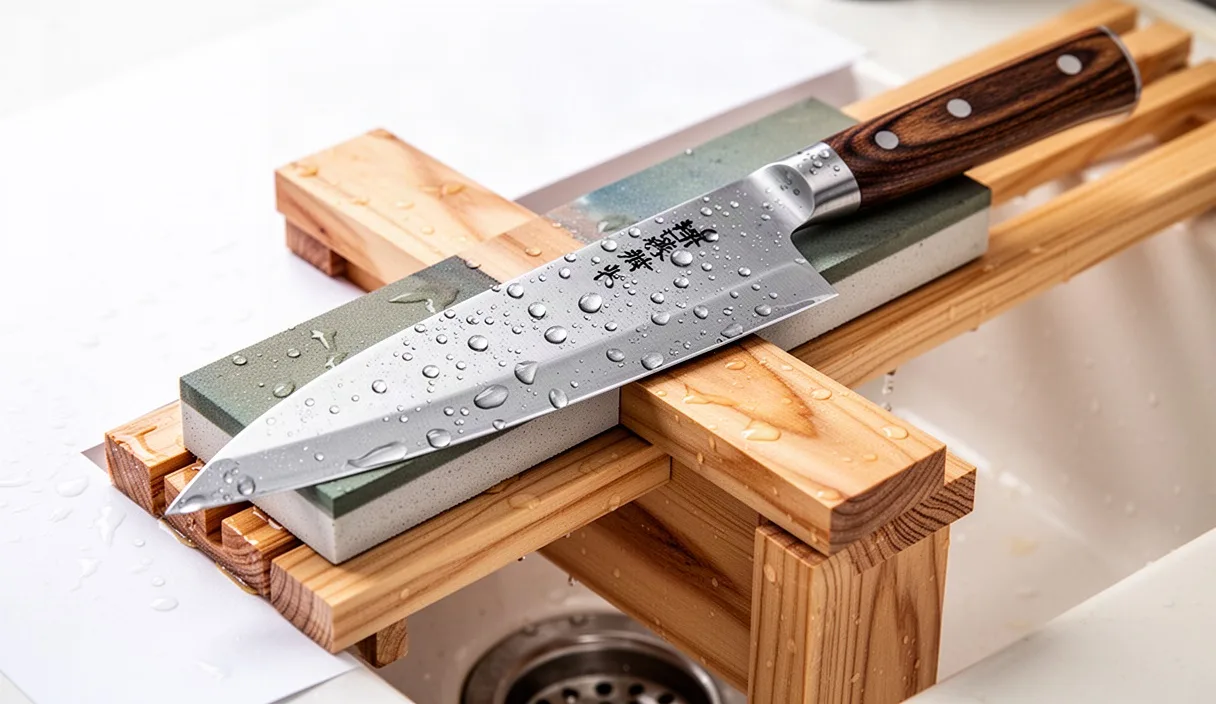
Set up your work station with a sturdy tray or sink bridge, a basin of clean water, a 1000-grit stone, and a flattening plate. If you have an inexpensive utility knife or an old carbon paring blade, use it first to develop the feel of the burr under your fingers before sharpening your favorite heavy gyuto. If a prized knife suffers from severe warping along the spine, cracked steel, or a broken bolster, consult a professional cutlery maker or specialized bladesmith before grinding away valuable metal.